
Winter is coming!

Last weekend we had the first snow in Berlin and it got colder - finally.
It isn't right that we had 20°C in November. Really.
So, because it's winter time and I haven't got a lot of money at the moment
(lost my job and had to safe as much money as possible) I looked for alternative and cheap
ways to make myself much more of a home here.
Let's begin with my
Autum decoration


That kind of decoration is simply paper that I cut out.
If you don't want to draw the leaves on your own, you will find a lot of
picture on the internet. You just have to copy them on coloured paper orcoloured trasnsparency paper, cut it off and stick it wherever you want.
It's the easiest way to decorate with seasonal changes, I guess, but it also
will take some time to cut.

These name tags are made for the bath (towels).
Of course you don't have to choose a rectangle shape.
I used some coloured card, a white coloured pencil and:alphabet sticker. These are the only expensive ones.

Fill the glasses with some small candles and with coloured
stones, powder, artificial snow, etc.
stones, powder, artificial snow, etc.
It's your imagination but you can make some nice table decoration
some sand and some shells with you. They are also great chums!
So as for now...
Let's turn to Winter decoration.

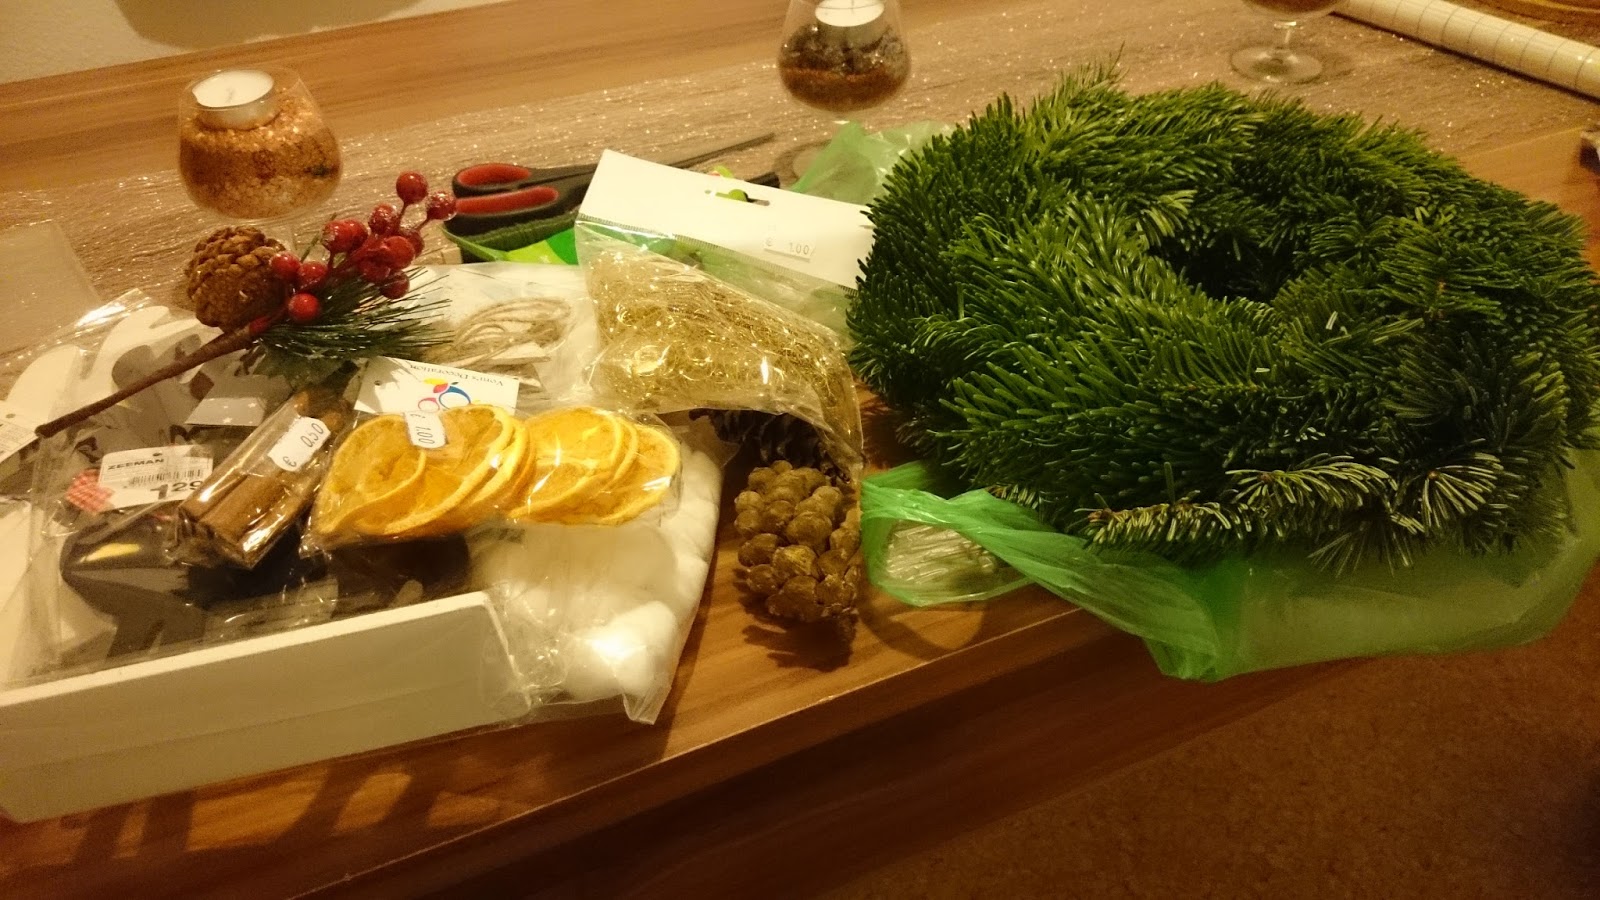
I bought these things for only 5€.
If you have some 1€ shops (or in different currency of course) -GO FOR IT!!!
Especially for seasonal changes and moreover for Christmas, Halloween or Easter
they will have a lot of decoration stuff for a low effort of money!
In my case I wanted to make some wreath - not a advent wreath because November had
just begun - but some winter wreath.
The only other thing you may need is some glue and nylon thread.just begun - but some winter wreath.


Much better. :)
And do you know the Adventskalender?
Every single day in December (until Christmas Eve)
The content can be chocolate, little toys or whatever you like.
In my childhood I never had such a stocking calender
but mostly factory made chocolate calender (which are also
really good! ;D).
So I wanted to sew something for me.
First, I got the fabrics in a fabric's store for a total of 8€.
You may look for Sale's option or ask the stuff if they got some
final fabrics - fabrics, which are only 1m or so on the fabric roller.
That may be cheaper and sometimes you don't need so much fabric
for your projects.

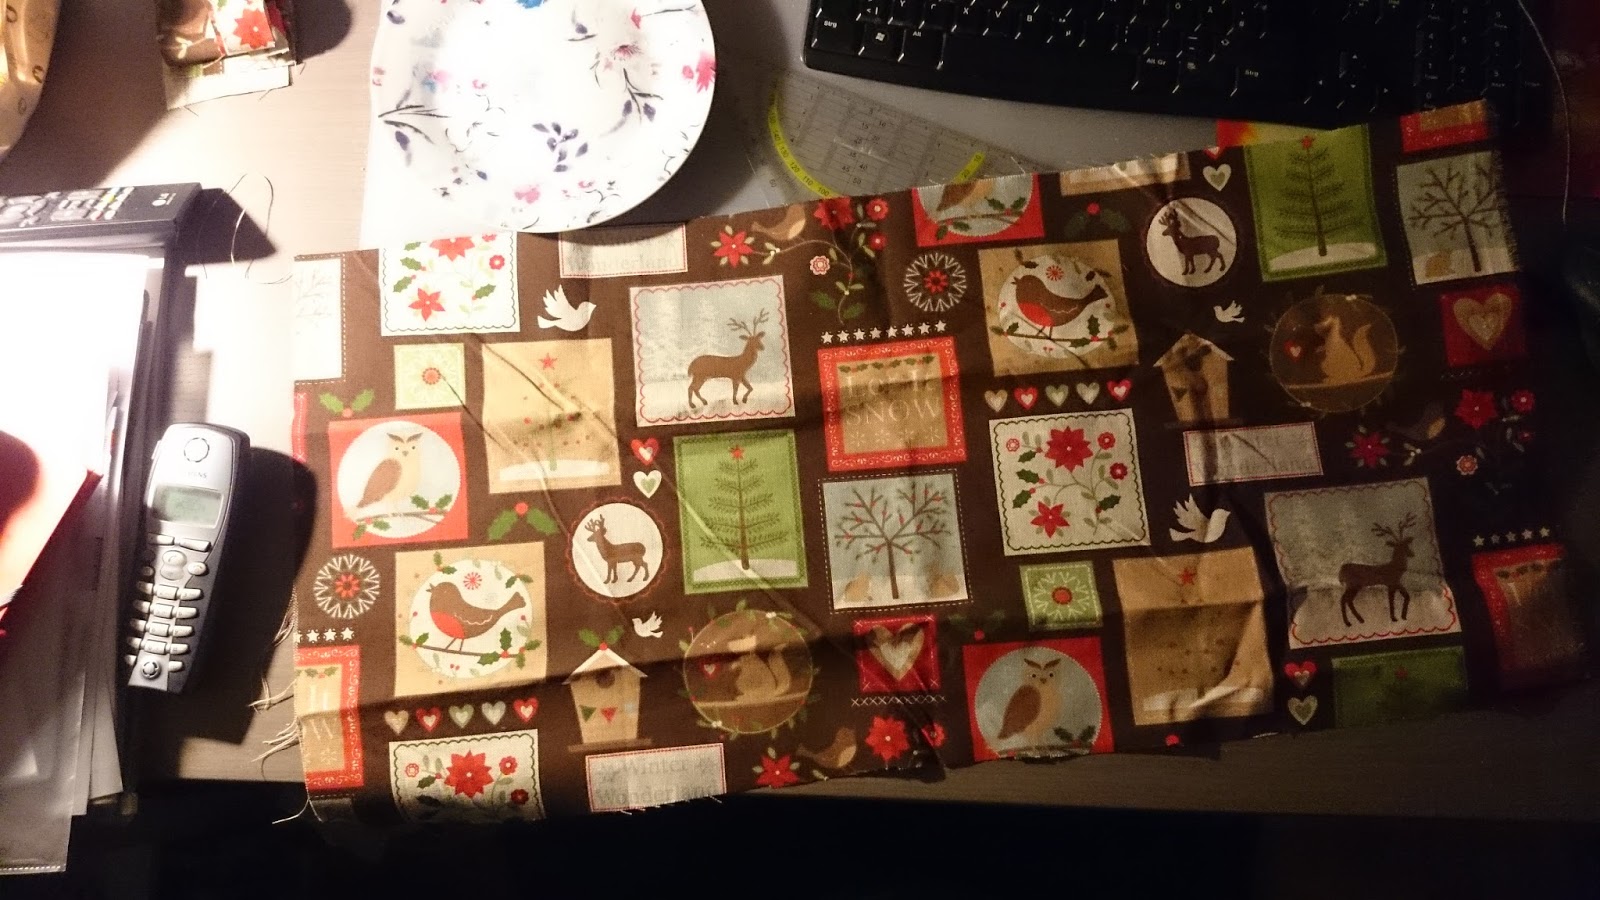

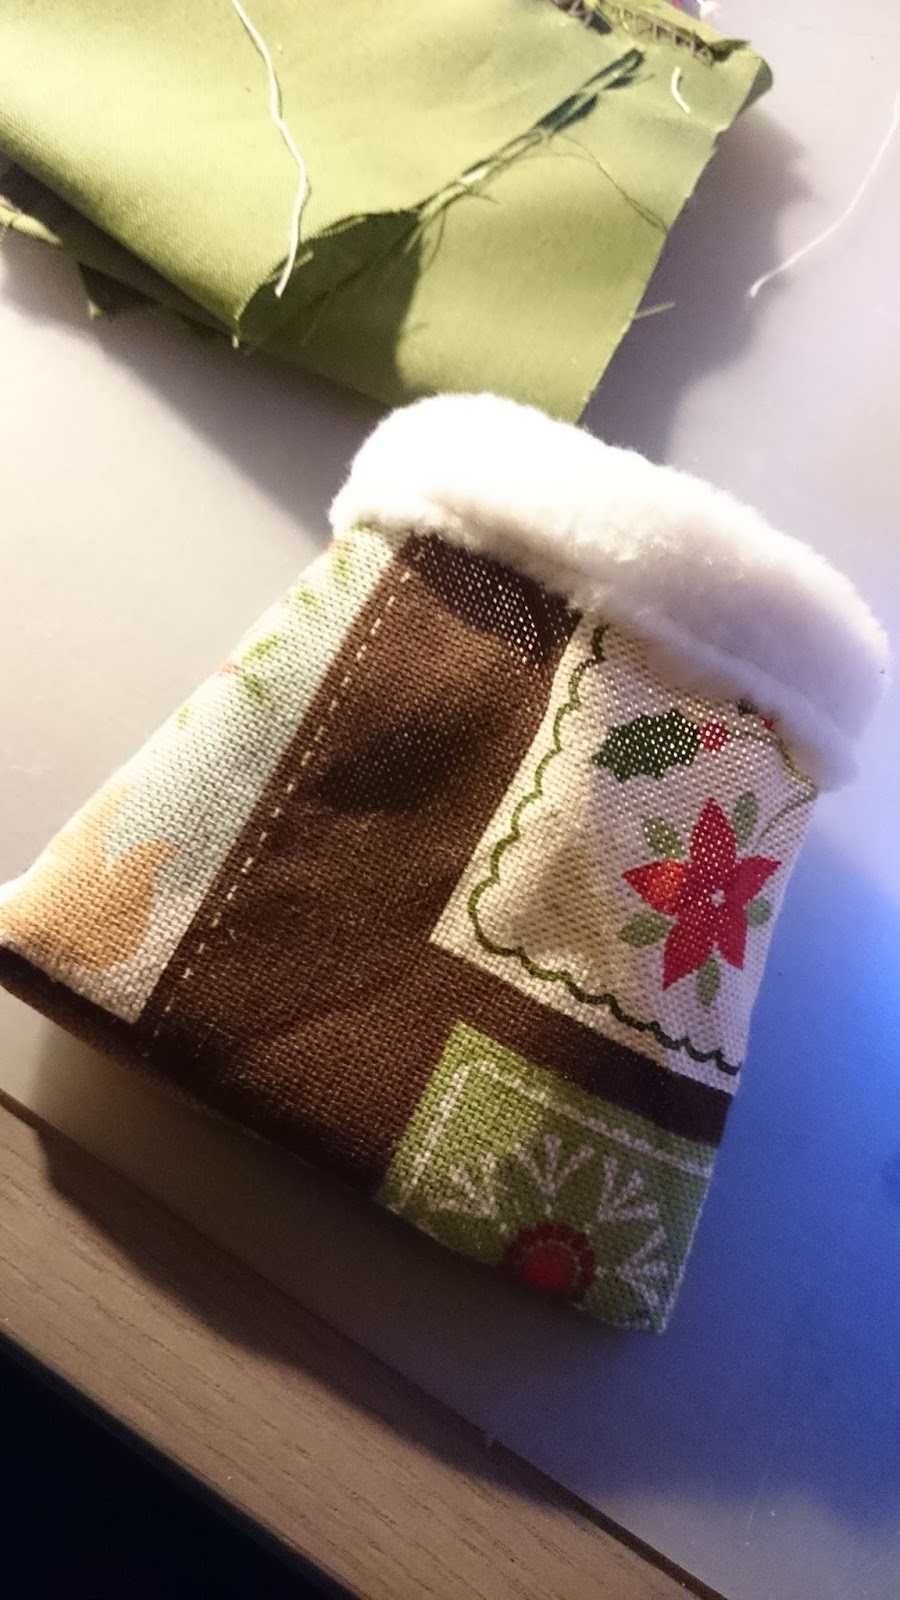
First sewing some bags, size 3,9", then turning them around
and sewing some plush on them. Adding some gift ribbon andglue on the numbers for the days.


As I said, you can get a lot of decoration stuff - you just need a
container, a box, a tablet or something else and then just put everything
together.
container, a box, a tablet or something else and then just put everything
together.
The best advice is: Just to this by heart.
It's much easier than thinking everything through.


And finally the Advent wreath:
I bought the wreath at a flower market.
Look for Nordmann fir if you want to have a real one -
this will last much longer than any other fir.I found the decoration stuff in that market, as well, but
also in the 1€ shops.
The candles are simple ones, bought at a drug store.
I don't want to light them, it's just part of the decoration:
How does it work?
Well, everything is put on by using wire again. :)
To put wire into the candles, you have to warm them from
the bottom side. Be careful because of the hot wax.

And I had some decorations left so I used an ice bowl
and some artificial snow. ;)
and some artificial snow. ;)

And do you remember making snowflakes with just some cotton balls,
thread and a needle?
thread and a needle?
I just couldn't resist to do so this year!


The latest try was to find a lampshade.
The problem is that the stand is too big and you usually just get
short lampshades. Or you have to pay a lot for a single one, so that I
can just buy a new lamp...
At least I found some emergency help.

The paper company "Canson" produces some home decoration stuff
as well - this one is some kind of plastics called "Les translucides".You can choose from a lot of different colours.

To close the lampshade I just made a patch work.
So you can just put it together.With wire you can stabilise the lampshade and put it on the stand.
But please take some stronger wire!
Because mine was too limp it's some...
wibbly wobbly timey wimey thing.
Oops ... Doctor's stuff... sorry.But the colour reminded me of the series. ;)
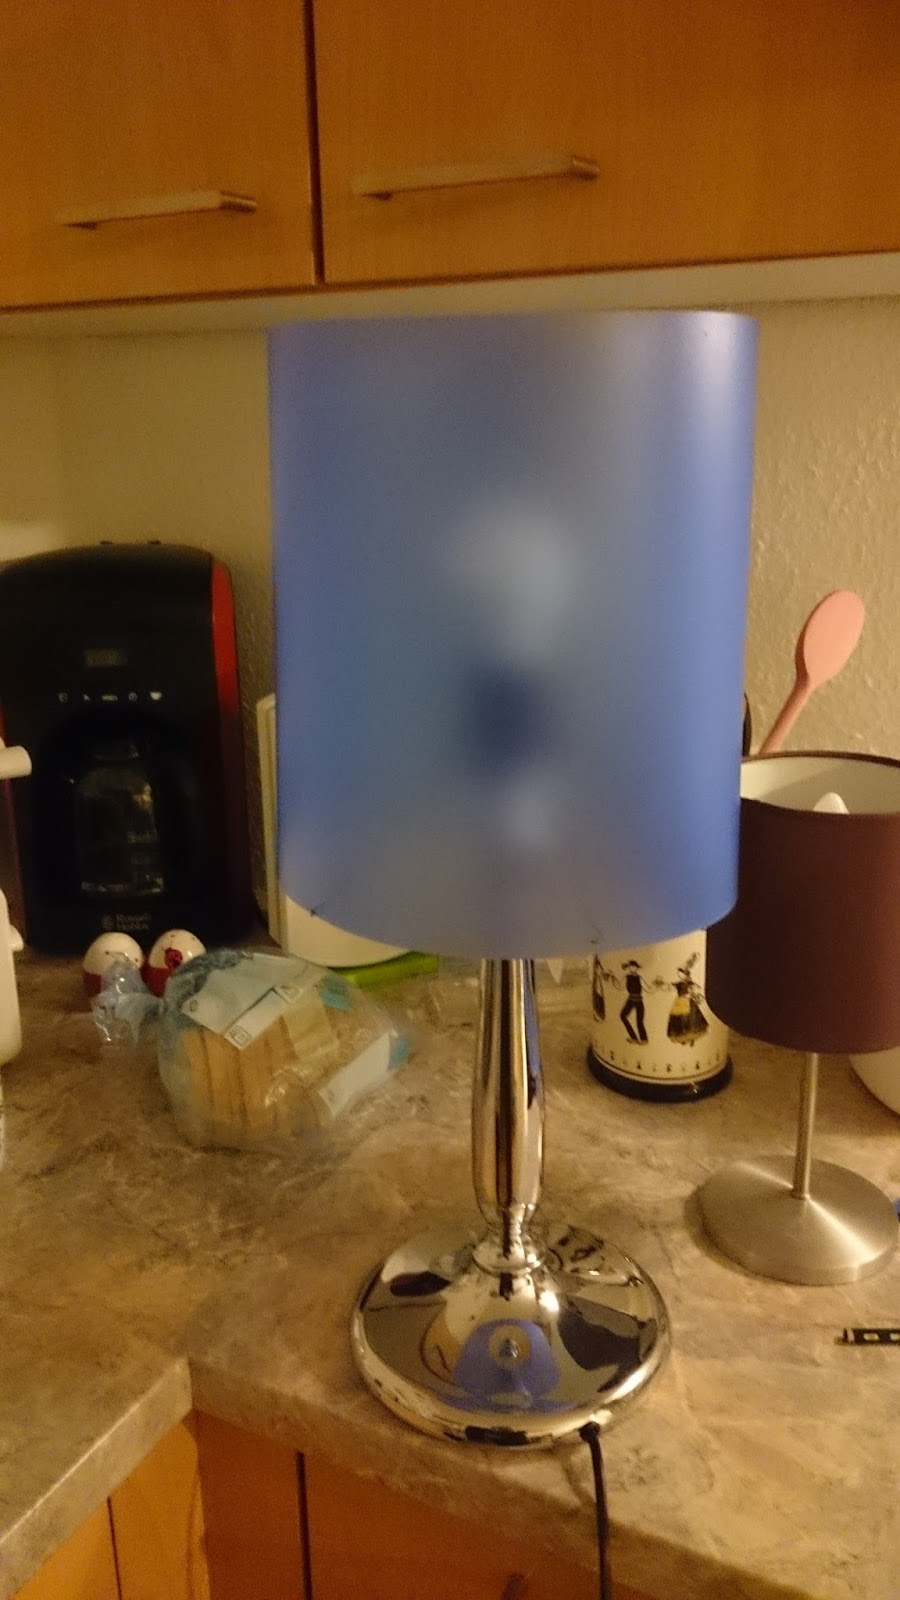

I decided to decorate the lampshade, too.
There was some interesting design which I
wanted to imitate.Now the lampshade looks much better, but I think
I'll cover the inside a bit more, so you won't see
the bulb itself.
It's just some case of emergency decoration but much better
than having none, right?

I hope you had some fun, reading through this
blog entry. It took a while to write it, but right now I'm
a little bit proud because I do so many things on my own and
don't buy everything.
blog entry. It took a while to write it, but right now I'm
a little bit proud because I do so many things on my own and
don't buy everything.
♥ ♥ ♥
My mother also knits and chrochets a lot of things
which can also be used for decoration.
I guess you are much more creative if you don't have
a lot of money. You have to use the things you have.Just take a look on the internet and search for
do it yourself tutorials.
Dawanda has a lot of great stuff but also pinterest or Youtube
can inspire you!!
Just be creative and make yourself a better home. <3


